Configuring a PBX
Overview
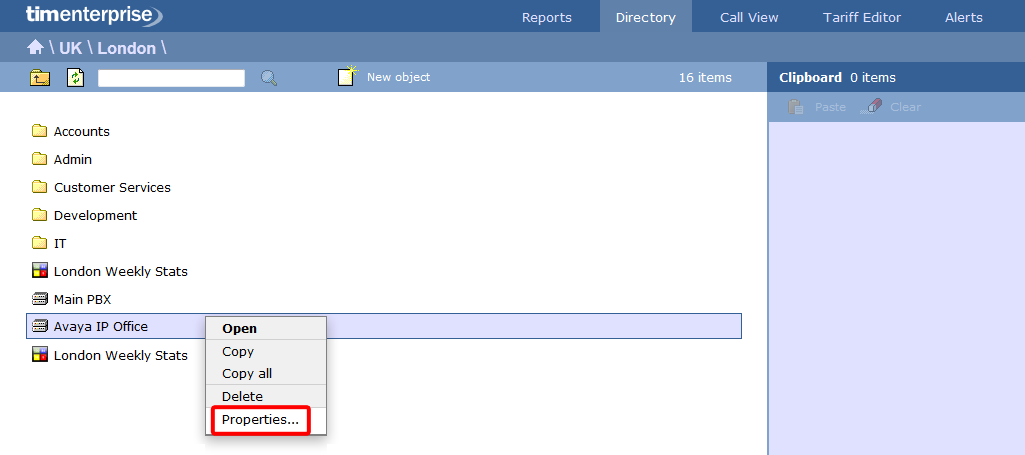
To configure a PBX, locate the object in the Directory, click on it and select Properties from the drop-down list, as shown below:
A new window will open, allowing you to configure the properties of your PBX object, as shown below:
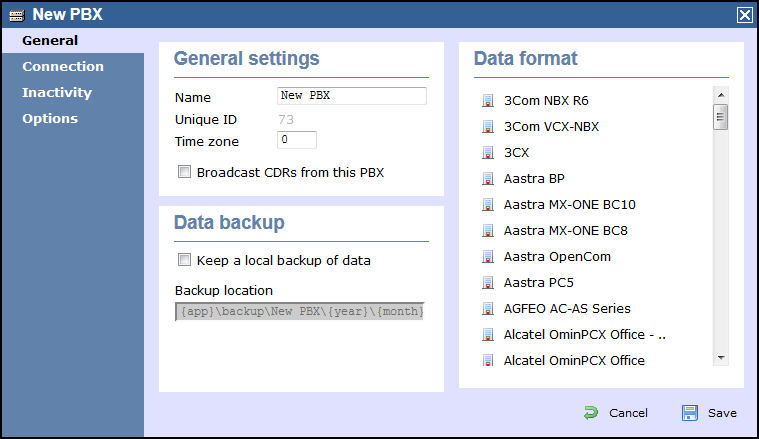
General
This tab allows you configure the general properties of your PBX object, which are described in the table below:
| Field | Description | ||||||||||||
|---|---|---|---|---|---|---|---|---|---|---|---|---|---|
| Name | The name by which you want your PBX to be identified. Usually, the make or model name of your PBX is used. | ||||||||||||
| Unique ID | The unique ID of the site object. | ||||||||||||
| Time zome | |||||||||||||
| Broadcast CDRs from this PBX | |||||||||||||
| Keep a local backup of data | Tick this box to backup your call logging data and enter the location of the folder you want to store these files. The default path is {app}\backup\backup-{year}-{month}-{day}.{uiv} and can contain dynamic variables, as detailed below:
| ||||||||||||
| Data format | Each telephone system outputs its call logging data in a different format. Select your PBX model from the list provided to ensure your calls are logging correctly. |
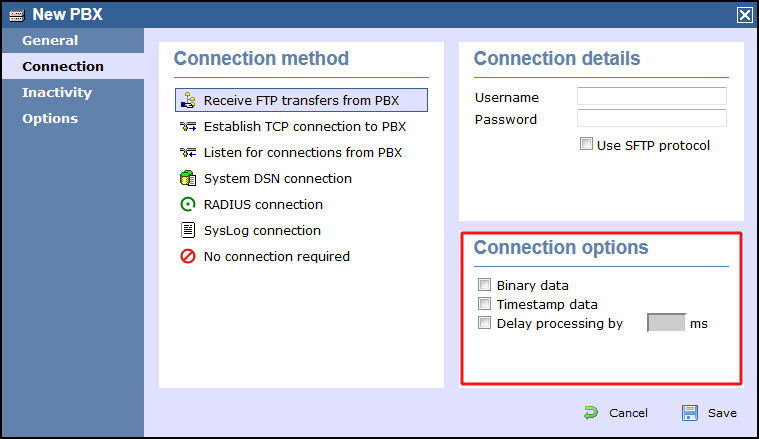
Connection
This tab allows you to configure the connection parameters of your telephone system. The properties presented in the Connection details section will vary, depending on the connection method used by your telephone system to provide call logging data. Each type of connection is described below:
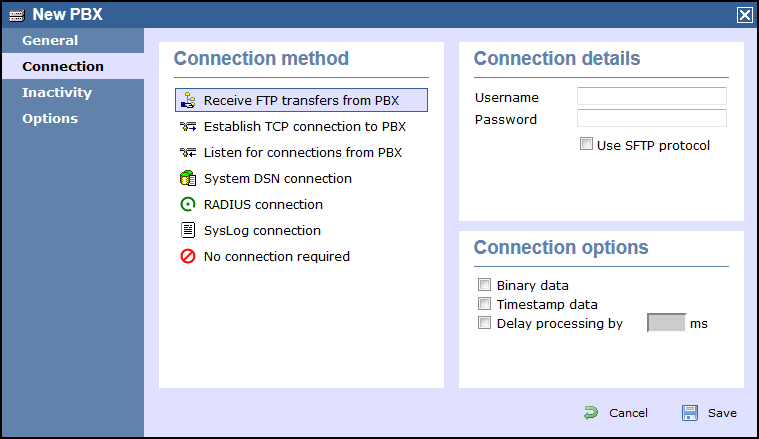
Receive FTP transfers from PBX
| Field | Description |
|---|---|
| Username | The username of the FTP account on your telephone system. |
| Password | The password of the FTP account on your telephone system. |
Establish TCP connection to this PBX

| Field | Description |
|---|---|
| Host | The IP address of the telephone system. |
| Port | The port number that your telephone system listens on. |
| Username | The username required to log in to your telephone system, if applicable. |
| Password | The password required to log in to your telephone system, if applicable. |
| IP script | The script file that TIM Enterprise uses when checking for new data. |
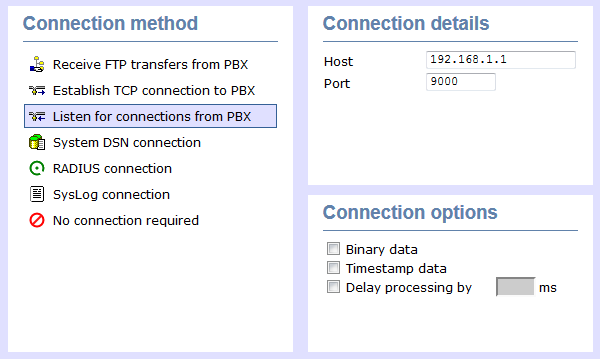
Listen for connection to this PBX
| Field | Description |
|---|---|
| Host | Specify the IP address of your PBX to only allow data to be sent from that address. You may leave this field blank to accept data from any IP address. |
| Port | The port number that TIM Enterprise should listen on for call logging data. |
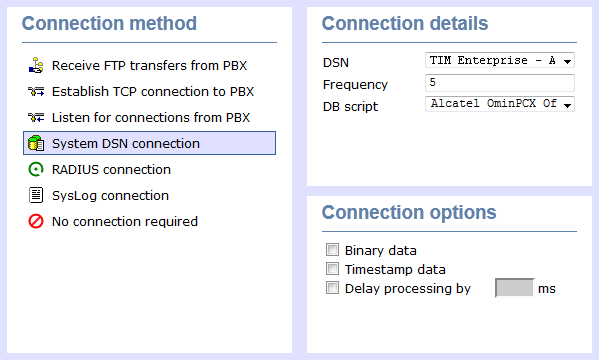
System DSN connection
| Field | Description |
|---|---|
| DSN name | The name of the system DSN connection to use when connecting to your telephone system's database. |
| Frequency | The frequency, in seconds, of the checks that TIM Enterprise makes when connecting to the database to determine if new data is available. |
| DB Script | The database script that TIM Enterprise uses when checking for new data. |
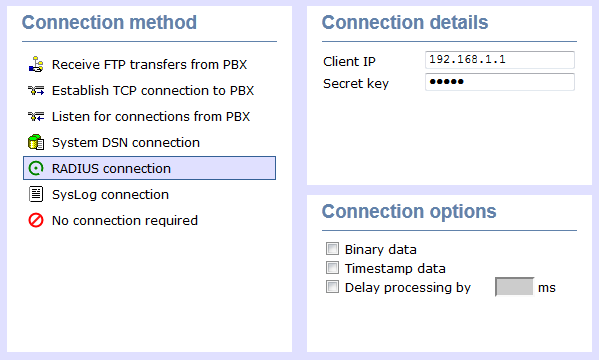
RADIUS connection
| Field | Description |
|---|---|
| Client IP | The IP address of your telephone system responsible for sending RADIUS packets. |
| Secret | The secret key used in RADIUS authentication between TIM Enterprise and your telephone system. |
Syslog connection

| Field | Description |
|---|---|
| Client IP | The IP address of your telephone system responsible for sending SysLog events to TIM Enterprise. |
For detailed information about connecting to all makes/models of PBX, refer to the Connecting to your PBX section. |
Connection options
| Option | Description |
|---|---|
| Binary data | Select this option if your telephone system sends call records in a non-textual format. |
| Timestamp data | TIM Enterprise can timestamp call records from your telephone system as they are received, if they do not already include dates and times. |
| Delay processing by | Enable this option and enter a time delay, in milliseconds, if call records are sent from your telephone system over a slow connection. This helps to prevent data loss when call records are processed before they are fully received. |
Inactivity
This tab allows you to set up an inactivity timer, which can notify you by e-mail when TIM Enterprise has not received data from your telephone system for a given amount of time.
Enable inactivity timer
Select this option to enable inactivity monitoring for the site you are configuring. Enter the amount of time, in minutes, that must pass with no call activity, before an e-mail is sent. Next, enter the e-mail address that will receive inactivity alerts for this site.
Reset connection on inactivity
TIM Enterprise can reset the network connection to your telephone system when an inactivity alert is sent, in order to cause the telephone system to restart its connection.
Exclude days and hours from inactivity monitoring
Tick the box alongside the days and hours when it is legitimate that no call activity takes place, such as at night or at weekends, so as not to receive unnecessary e-mail notifications for those periods.
Options
Enable this option if you want to restrict TIM Enterprise to look for users outside this PBX object. This will allow you to log users with the same extension number across different sites.
This option is turned off by default, and it is recommended you check with our Technical Support team whether you need to enable it. |
To edit a PBX, simply left-click on it and select from the pop-up menu, as shown below:

General properties
In the tab, type in the name of your PBX, select the data format required and enable the local backup.
The setting will vary depending on the PBX being connected. The examples below show the general setting for a and Cisco UCM and Avaya IP Office.
Cisco UCM properties
Please select Cisco UCM 5+ from the PBX model list and enable the local backup.

Avaya IP Office properties
Please select Avaya IP Office 6+ from the PBX model list and enable the local backup.

Connection
Click on the tab and select the Connection method to be used. Please note that the connection method will vary from PBX to PBX. The default boxes in the Connection details section will change to suit the connection method selected and will only allow you to enter details relevant to that connection method.
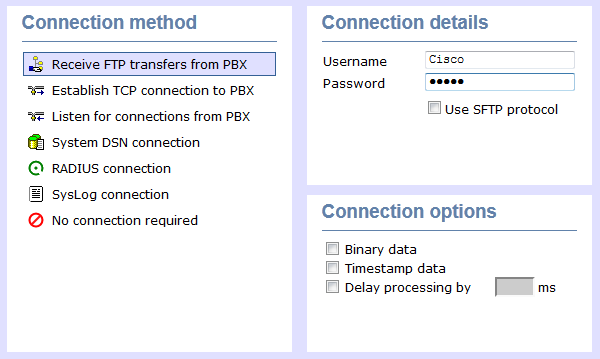
Cisco UCM properties

Follow these steps to set the connection properties for your PBX:
- In the tab select Receive FTP transfers from PBX from the Connection method list.
- In the Username field enter in the username of your choice e.g. Cisco.
- In the Password field enter in the password of your choice e.g. C1sco.
- Finally, click on the button.
Avaya IP Office properties

Follow these steps to set the connection properties for your PBX:
- In the tab select Listen for connection from PBX from the Connection method list.
- In the Port field enter in 9000.
- Finally, click on the button.
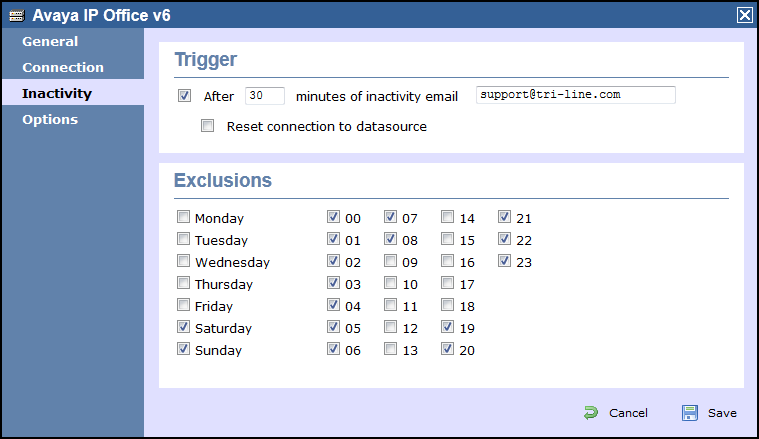
Inactivity
TIM Enterprise can alert you when your phone system has become inactive, meaning it hasn't provided any call record data for a time, possibly indicating a fault.
Trigger
To set up an inactivity alert, tick the box inside the Trigger section, choose the amount of time that there must be inactivity from your phone system for it to be considered inactive, then specify an email address to send an inactivity warning alert to.
Inactivity from your telephone system can be caused by a network failure between your phone system and the machine running the TIM Enterprise software. In some cases, resetting the connection can force the phone system to reconnect. If you want TIM Enterprise to reset the connection when inactivity is detected, tick the box alongside that option.

Exclusions
Inactivity might not always be as a result of a fault. Your organisation's normal work patterns might mean that the phone system is naturally inactive between certain hours or on certain days (e.g. at weekends). In this case, it is prudent to exclude those periods when inactivity may naturally occur, so that an alarm isn't sent unnecessarily during those times. Tick the boxes alongside the days and hours that you expect your phone system to naturally be inactive.
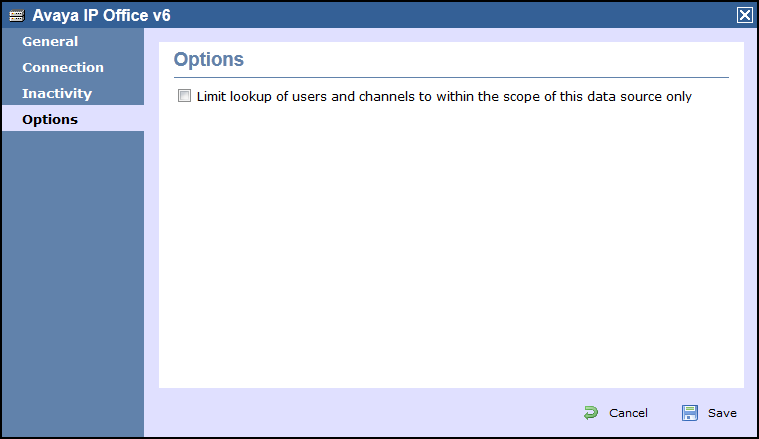
Options
This option when enabled restricts users/groups within the site so if anyone takes out a user from the PBX level and places it outside in a group (which they shouldn't), it will create the extension again and place it back into the "Discovered Users" folder. This option by default will be off and will only be used by us if we think it's necessary for the client in question.
The example below shows the options for an Avaya IP Office.
