Scheduling a report
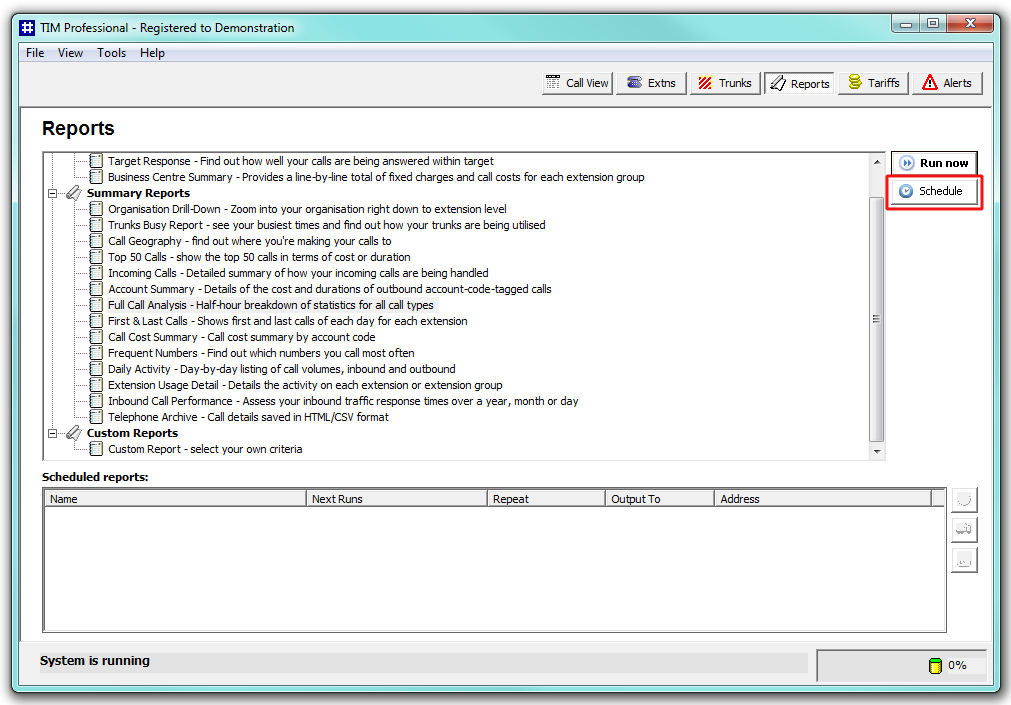
To schedule a report, select the report type you want to run from the list of reports and click on the button, as shown below:
As with running a report on demand, this will display the report's selection criteria window, where you can set the parameter's of the report.
If you set the report to recur, remember that the preset report period will remain constant. For example, suppose you want a report to run every month, you would select the period as Last Month, then set the report to run on the first day of the following month. This way, every month the report will run and have the period Last Month, ensuring a retrospective view of the previous month. |
When you have enter the report's parameters, click on the button. The report will display the following window, where you can configure the scheduling parameters:
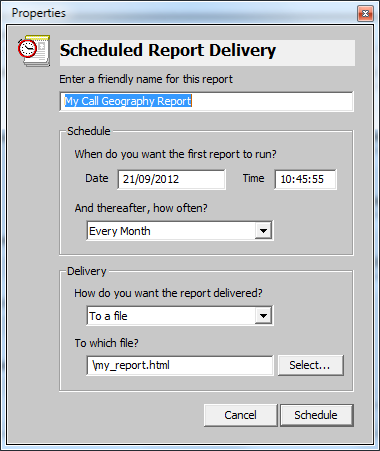
Choose a friendly name for this report
This option allows you to assign a custom name to the report. Enter a name that will easily help you to identify the report, such as Call Geography Report - Sales Team.
When do you want the first report to run?
Enter the date and time you want the report to run. You can enter the date in any format that pertains to your country's regional settings. The time is usually in the form hh:mm:ss (hours, minutes and seconds).
And thereafter, how often?
If you want the report to recur, you can set the frequency by selecting a period from the drop-down list. If you don't want the report to recur, select Never.
How do you want the report delivered?
Choose the delivery method from the drop-down list and then the destination:
| Delivery method | Description |
|---|---|
| Enter the e-mail address to which the report should be delivered. Previous e-mail addresses that you may have entered are available in the drop-down list. | |
| File | Type the location and filename where you want the HTML file to be saved, e.g. C:\My Reports\Sales Report.html. It is important to note that this file will be overwritten if it already exists. |
| Printer | Select from the drop-down list which printer you want the report delivered to. Note that some versions of Microsoft Internet Explorer (the engine used to print the reports) do not allow printing to any printer other than the default Windows printer, regardless a different one has been selected. |
After entering the scheduling parameters, click on the button to return to the main Reports screen. The newly scheduled report will be listed in the Scheduled reports list, as shown below:
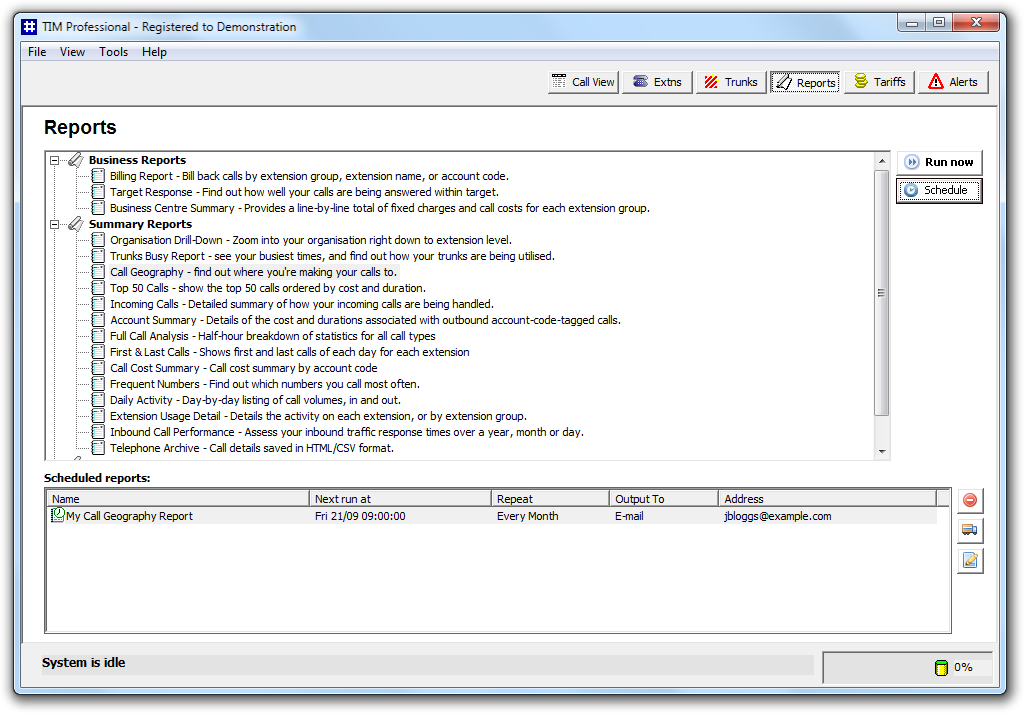
Amending a scheduled report
To remove a scheduled report, select it from the Scheduled reports list and click on the  button alongside. You will be asked to confirm the removal.
To change the delivery details, such as its name, how often the report is set to recur, and how it is delivered, click on the  button.
To amend the parameter of the report, such as the period or the site the report covers, click on the the  button.