Migrating TIM Enterprise to a new machine involves the following actions:
On the old machine
- Upgrading the old system to our latest version of software
- Creating a MySQL backup for the TIM Enterprise database
On the new machine
- Reinstall MySQL and restore the old database on the new system
- Reinstall TIM Enterprise on the new PC
- Reset the live connection with the PBX
Upgrading the TIM Enterprise to the latest version of software
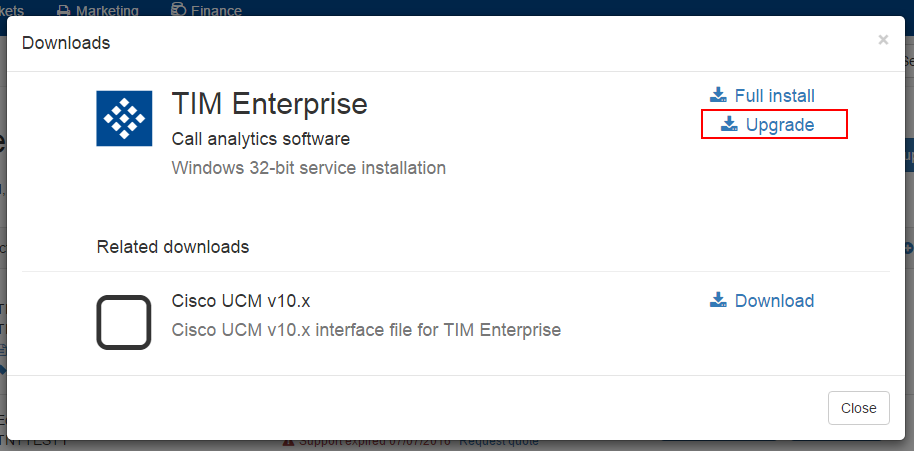
Log in to our Gateway and click on the TIM Enterprise product. Select the Upgrade package from the Downloads area and save the setup package on your computer.
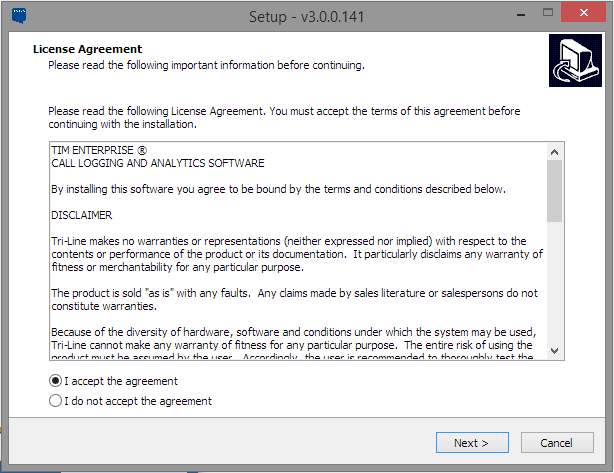
When you have downloaded the setup package, double-click on it and follow the setup wizard in order to complete the installation.
Creating a MySQL backup for the TIM Enterprise database
Log in to MySQL Administrator and backup the TIM Enterprise database following the on-screen instructions.
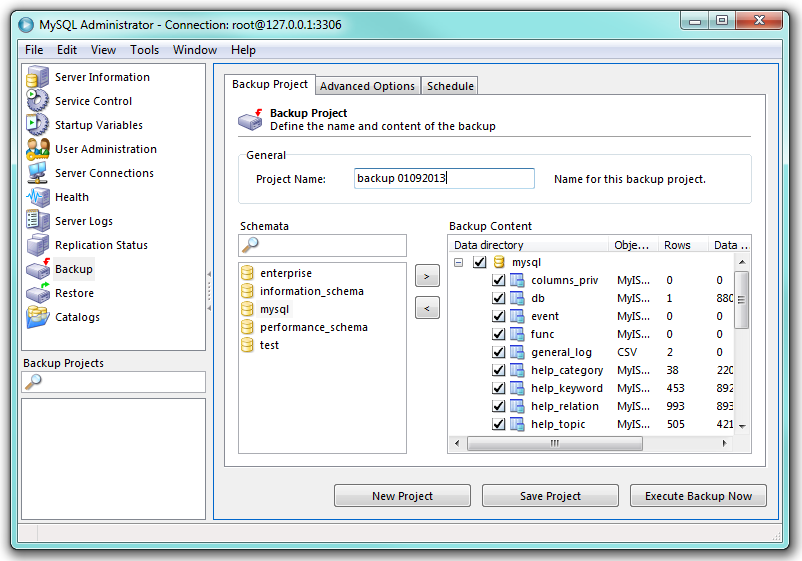
When the backup procedure is completed, transfer the file on the machine you want to migrate the software.
Reinstall MySQL and restore the old database on the new system
MySQL installation
Visit http://www.mysql.com and download the following packages:
- mysql-5.5.16-win32.msi
- mysql-connector-odbc-3.51.29-win32.msi
- mysql-gui-tools-5.0-r17-win32.msi
Follow the setup instruction to install the MySQL ODBC connector and MySQL GUI tools.
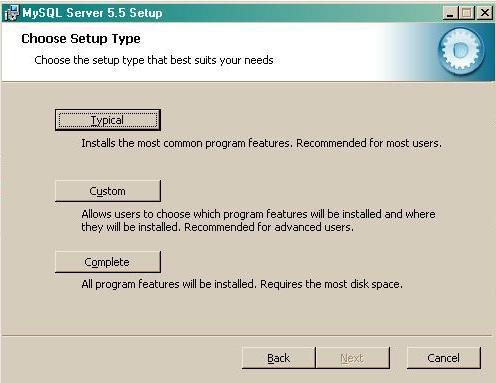
For the MySQL server installation, perform the steps below:
- Click on the installation package and follow the on-screen instruction. When prompted to choose the setup type, click on the button, as shown below:
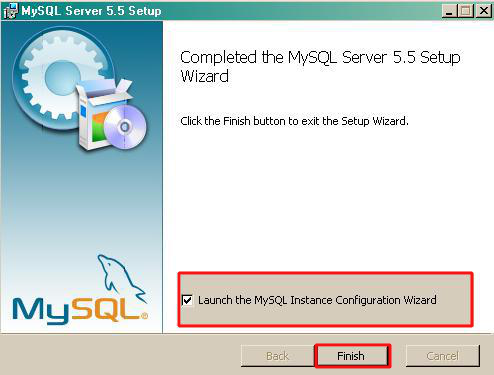
- Continue to follow the steps in the setup wizard and when prompted, tick the Launch the MySQL Instance Configuration Wizard box. Click on the button, as shown below;
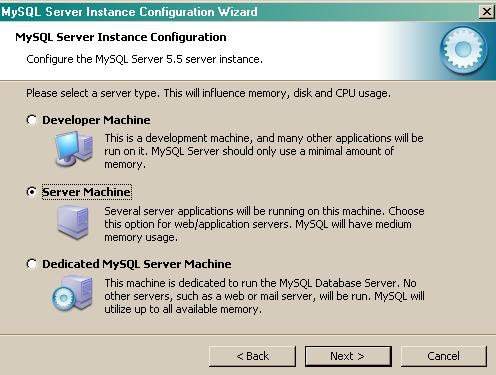
- The MySQL configuration wizard will start automatically. Configure the instance to run as a server machine and the database usage type must be set Non-Transactional Database only

- When prompted to create a password for the root account, enter tntnet

- Click on the button and follow the rest of the steps in order to finish the configuration setup.
- Once the installation process is complete, log on to MySql Administrator and create a new database user for the TIM Enterprise system.
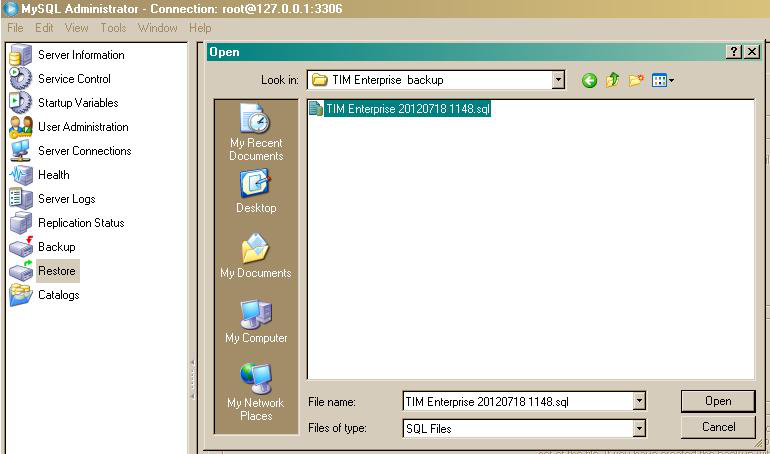
Restore the old database on the new system
Once the MySQL installation process is complete, log on to MySQL Administrator and click on the tab. Follow the on-screen instructions in order to restore the old databse.
Reinstall TIM Enterprise on the new machine
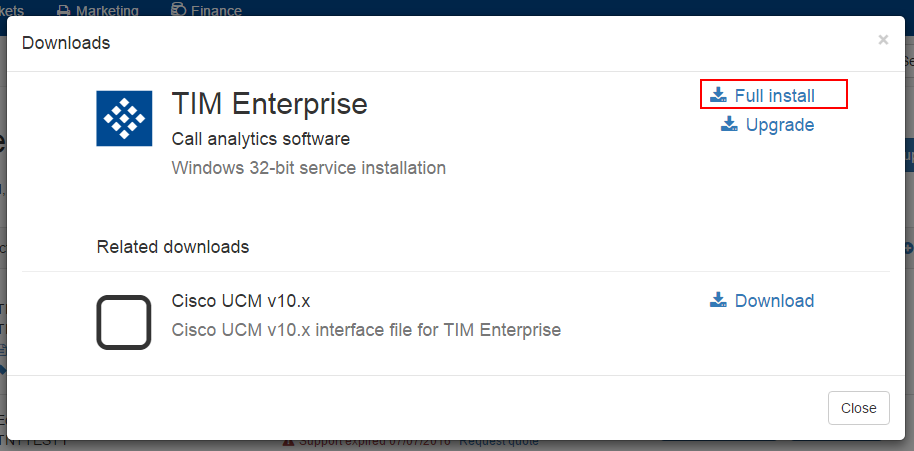
Log in to our Gateway and click on the TIM Enterprise product. Select the Full install package from the Downloads area and save the it on your computer.
When you have downloaded the setup package, double-click on it and follow the on-screen instructions. After installation, a web browser page will open automatically with the configuration settings
Close the web page, access the Windows Services and restart the TIM Enterprise service.
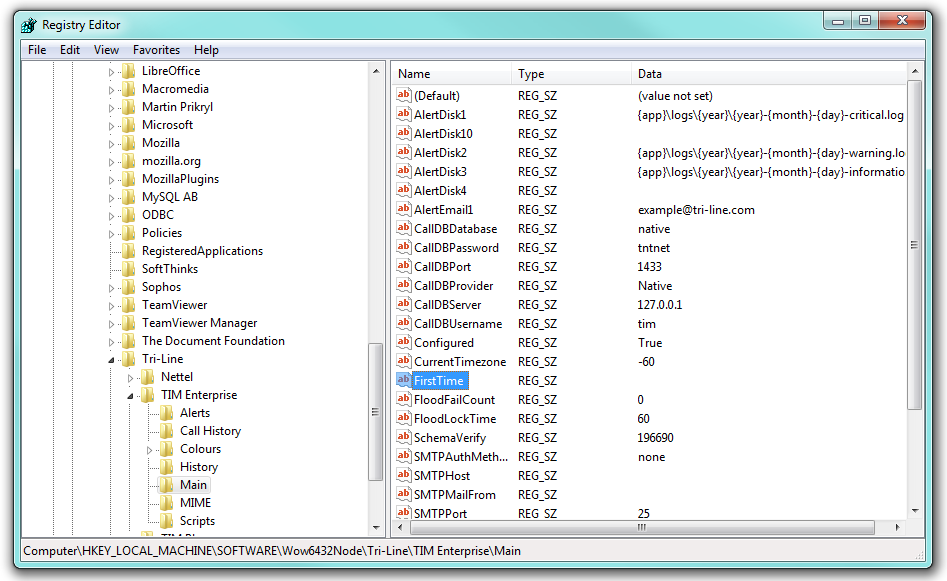
Using Windows Registry Editor, Start -> Run ->regedit.exe, remove the FirstTime value from the following Registry key HKEY_LOCALMACHINE \ Software \ Tri-Line \ TIM Enterprise \ Main
You can now start the TIM Enterprise services and log on to the system with the following credentials:
username: root
password: tntnet
At this stage of the process you will be asked to provide a license key for the new installation. Copy the product key into a text file and email it to our Technical Support team.
When the license has been updated successfully, click on the TIM Enterprise logo to access the system settings and connect to the restored TIM Enterprise database, by entering the required details.Click on the button to test the connection.
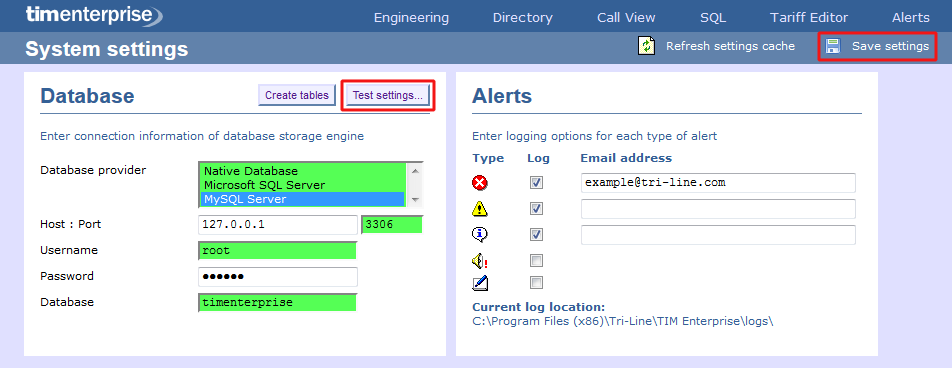
Click on the button to save the changes.