User groups
What is a User group?
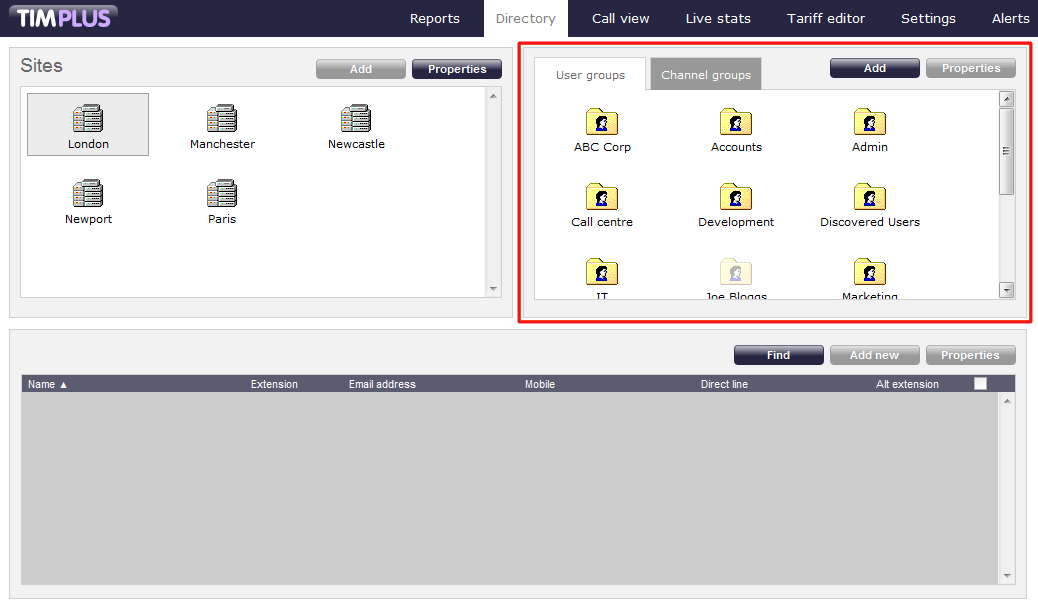
User groups are containers of users and they often mimic the organisational structure of your company, allowing senior management to report on calls by department. Access to the Directory can be restricted to one specific user group, so that managers can report only on their own department. For information on how to apply these restrictions, refer to the Web users section.
The Discovered Users folder
When you first configure the system, a user group, called Discovered Users, is created by default in the Directory, which function is to pick up newly discovered extensions and it should not be renamed or deleted from the system. Once you have created your own groups, you can move extensions from the Discovered Users folder to the newly created ones. For information on how to move users from one group to another, check the Moving a user between two groups section.

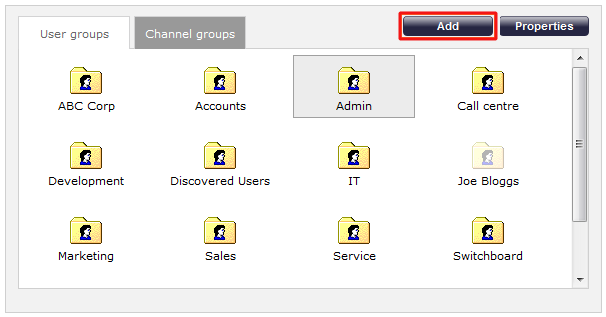
Adding a User group
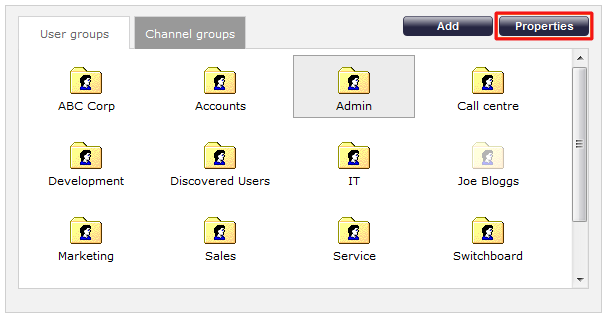
To add a new user group to the Directory, click on the button at the top-right of the Groups panel.
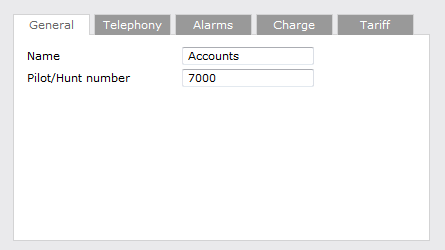
A new window will appear, allowing you to add the name of the group and its pilot/hunt number, if applicable.
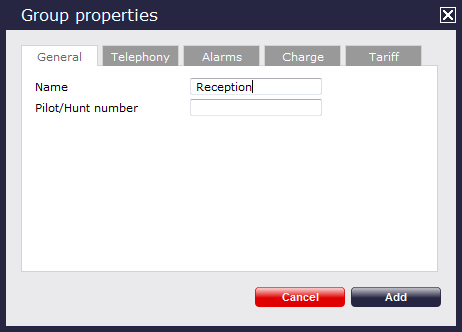
Click on the button to add the new group to the Directory.
If you are synchronising with a third party system, e.g. Cisco AXL, you will automatically pick up the user groups as they are configured in your phone system. |
Configuring a User Group
To configure the properties of a user group, highlight the group you are interested in and click on the button at the top-right corner of the panel:
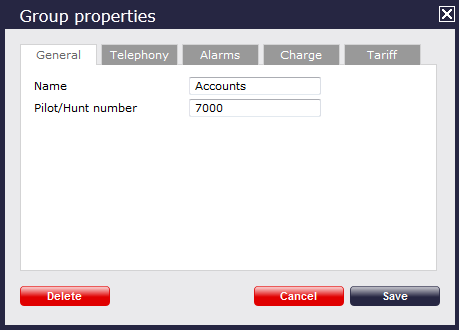
A new window will open, where you can configure the properties of your user group. Each tab in the Group properties window will be explained below:
General
In the General tab you can enter a name for your user group and the pilot number, if applicable. Usually, the name reflects the role that the group plays in your internal organisational structure, e.g. Accounts, Sales, IT etc.
Telephony
The Telephony tab gives you the option to exclude the currently selected group from being logged or recorded in the system - assuming a call recording device is attached to TIM Plus.
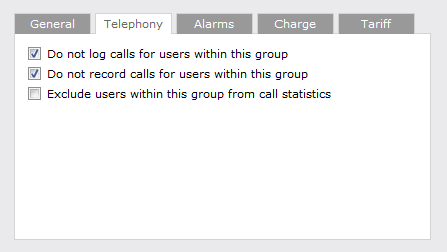
- Do not log - calls are not being logged and the call recordings - if applicable - are not accessible. The associated audio file is not being deleted, but there is no call log to be matched against.
- Do not record calls - calls are not being recorded;
- Exclude users from call statistics - calls are being logged, but not included in any stats points objects, therefore, they will not show on display boards.
Any users within a group set to Do not log will not count towards your user license. |
Alarms
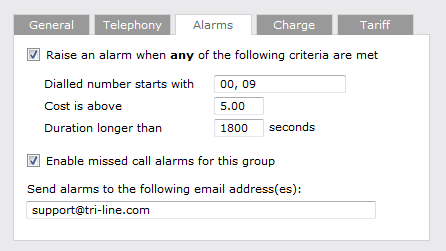
In order to monitor specific events for users within a specific group, you can set up alarms that trigger when certain criteria are met, e.g. when calls above a certain duration are made, when specific numbers are dialled or when defined cost-thresholds are exceeded.
Dialled number alarm
Alarms can be set to activate when a part or full number is dialled by a user within the selected group. If you want to add a series of full or partial numbers, you can separate each entry with a comma, as shown above. Acceptable formats include: 00, 020, 020726526, 02072652600.
Cost alarm
An alarm can be set to activate when a call made by a user within the selected group exceeds a pre-set cost. Note that the cost will relate to the local currency, e.g. in the screenshot above, the 5.00 would be £5 in UK, €5 in Europe or US$5 in USA.
Duration alarm
An alarm can be activated when a call made by a user within the selected group exceeds a predetermined duration, measured in seconds.
Missed call alarm
An alarm for missed calls can also be set up for the selected group, by ticking the box Enable missed call alarms for this group.
Delivering the alarm notification
To receive an e-mail notification from TIM Plus for any of the above mentioned alarms, type the e-mail address in the text box provided, as shown above. To send the alarm to more than one e-mail address, separate each entry with a comma.
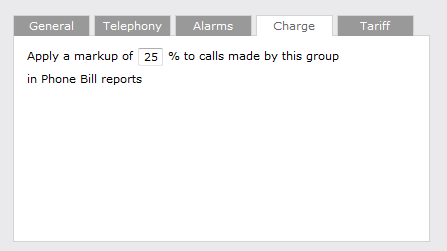
Charge
This section allows you to add a percentage markup to all calls in the selected group. To apply the charge, enter the percentage by which you would like to mark up calls, as shown below:
Tariff
TIM Plus gives you the option to cost different groups of users at different rates. To apply a different tariff, expand the drop-down list and select from the available options.
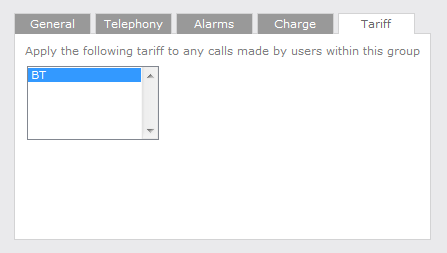
By default, TIM Plus is supplied with a standard BT tariff, which will automatically pick up national, international and mobile dial codes. Bespoke tariffs can also be provided on request.
Renaming a User group
To rename a user group, locate the entity in the Directory and click on the tab.
A new window will open, where you can rename the group. Click to apply the changes.
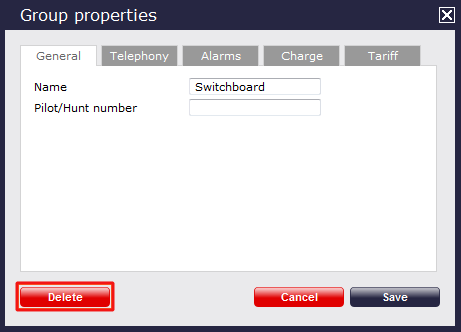
Deleting a User group
PLEASE NOTE: When you are deleting a user group, you are deleting all the information contained within the group, including all users and the calls associated with those users! |
To delete a user group from the Directory, select the group you want to remove and click on the button. In the new window that opens, you have the option to delete the selected group. You will be asked to confirm the deletion, in order to prevent groups being deleted accidentally.