The Unused Devices report
Introduction
The Unused Devices report identifies any users and channels that haven't been utilised over a given period. This report is ideal for identifying phone handsets that can be safely reallocated or to see which channels are no longer used.
Running the report
On the Reports screen, click on Unused devices in the reports list and then press the button.
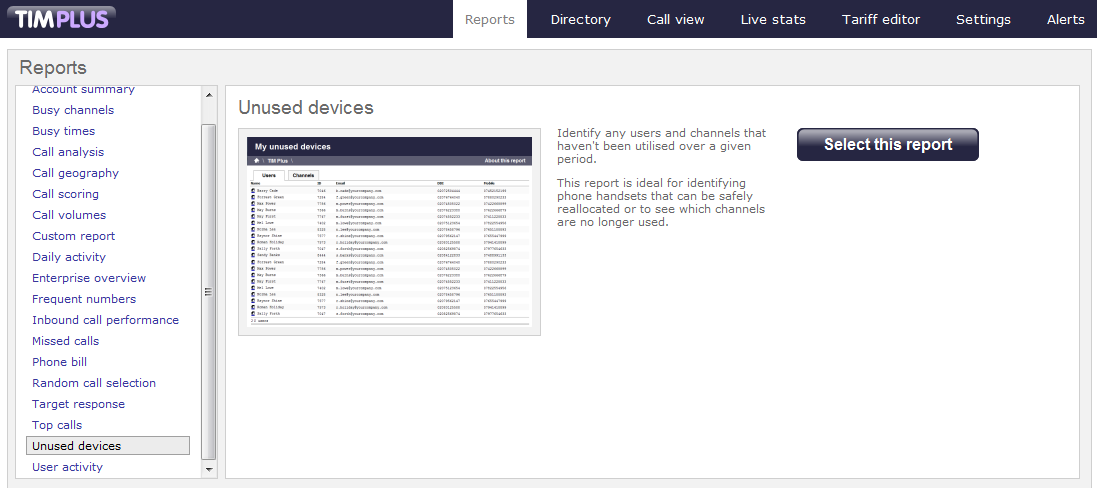
A new window will appear, where you can select the criteria for your report.
Selecting the reporting period
Every report requires a period to run over. This is generally defined as the "Reporting period".
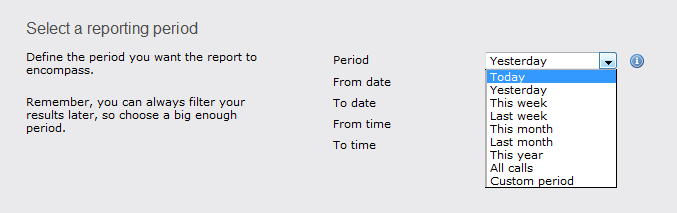
There are several preset periods that can be selected from a drop-down list. The predefined periods are based on a standard Gregorian calendar and are defined as follows:
| Period | Description |
|---|---|
| Today | The start and end dates are set to the current date. The start time is set to 00:00:00 and the end time to 23:59:59. |
| Yesterday | The start and end dates are set to the current date minus one day. The start time is set to 00:00:00 and the end time to 23:59:59. |
| This week | The start date is set to the first day (normally Monday) of the current week. The end date is set to the current day. The start time is set to 00:00:00 and the end time to the current time. |
| Last week | The start date is set to the date of the last Monday, and the end date is set to the start date plus seven days. The start time is set to 00:00:00 and the end time to 23:59:59. |
| This month | The start date is set to the first day of the current month. The end date is set to the current day. The start time is set to 00:00:00 and the end time to the current time. |
| Last month | The start date for this period is set in three stages. The day is set to 01, the month is set to the current month minus one, or in the case of January, it is set to 12. The year is set to the current year, unless it is a new year, in which case the year is reduced by one. The start and end times are set to 00:00:00 and 23:59:59 respectively. |
| This year | The start date is set to the first day of the first month of the current year, whilst the end date is set to today's date. The start and end times are set to 00:00:00 and 23:59:59 respectively. |
| All calls | The start and end dates and times are set to the date and time of the first and last call in the entire call database, respectively. |
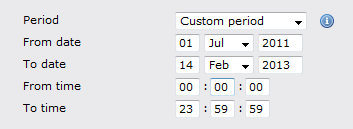
| Custom period | Enter the start and end dates and times into the boxes below. The start and end times are linked to their respective dates. |
If you want to be more specific, you can choose the Custom period from the drop-down list. This option will allow you to define the Start date and End date yourself, as well as the Start time and End time of the calls you want to report on.
When the report is executed, the reporting engine will substitute the start and end dates based on the current date or the relevant selection made by the user.
Once you have set the report's period, click on thebutton to set more of the report's parameters or select thebutton to run the report.
Selecting the reporting entity
The reporting entity paramater allows you to select which part of your organisation you want to run the report for (site, extension group, channels or individual extensions).
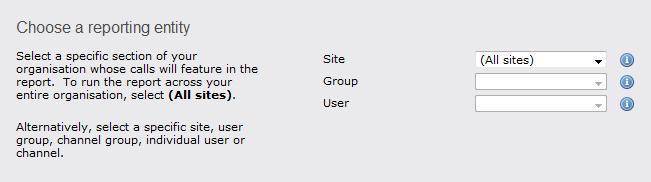
Site
TIM Plus will allow you to log information from up to five sites. If you want to report on a particular site, select your preferred site from the drop-down list, alternatively leave the default settings as All sites.
The username and password you have been allocated might be restricted to a specific site or group. If you need additional permissions, please contact your system administrator. |
Group
There is no limit to the number of groups you can create on one site. Groups, like sites are available as a drop-down list. You can choose to report on a specific group or leave the default setting as All groups.
Please note that the drop-down list for each group will appear only if a site has already been selected.
User
Once a site and group has been selected, you can also choose to report on a particular user from the drop-down list, or you can leave the default setting as All users.
Once you have set the report's entities, click on thebutton to set more of the report's features or select thebutton to run the report.
Selecting the report options
This section allows you to further narrow down your report results, by excluding certain types of calls or sorting the results in a particular manner. The filters are fairly self-explanatory.
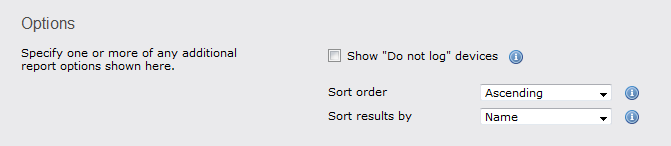
Show "Do not log" devices
Tick this box if you would like to display devices whose status has been set to "Do not log".
 Show "Do not log" devices
Sort order
Expanding the drop-down list available, you can choose whether you would like the results of the report to appear in ascending or descending order.
Sort results by
You may choose the order in which results are sorted by selecting the appropriate option from the list provided:
Selecting the report format
This section allows you to choose the output format of your report. To select the desired format, click on the drop-down list and choose from the available options: Web, PDF, Excel, CSV and XML. More details about each report format are available in the Setting the report format section above.
Creating the report
When you have chosen a reporting period, and are happy with your selections, you have two options:
- run the report now
- schedule the report for future delivery
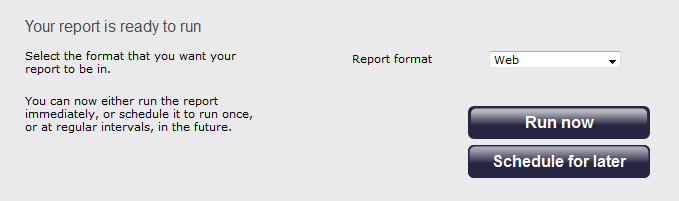
If you click on the button, the report will run instantly in your chosen format.
If you want to schedule the report to run at a later time, follow the instruction given in the Schedule a report section.
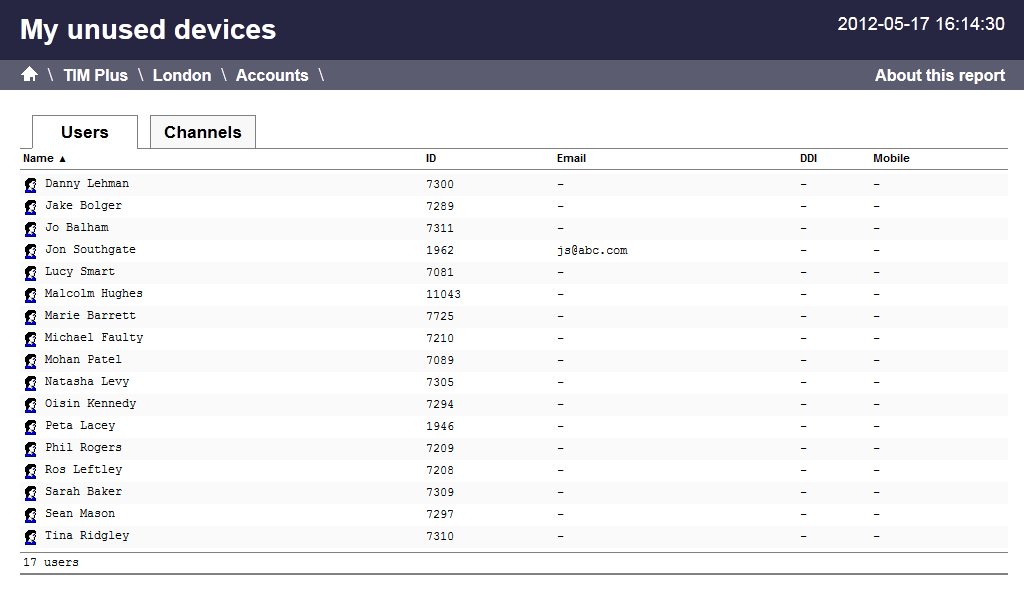
The report's results
When selecting WEB as the output format, this report will appear as below. To view details of any filters or selection parameters used in creating this report, simply click on About this report on the top-right corner of the page.
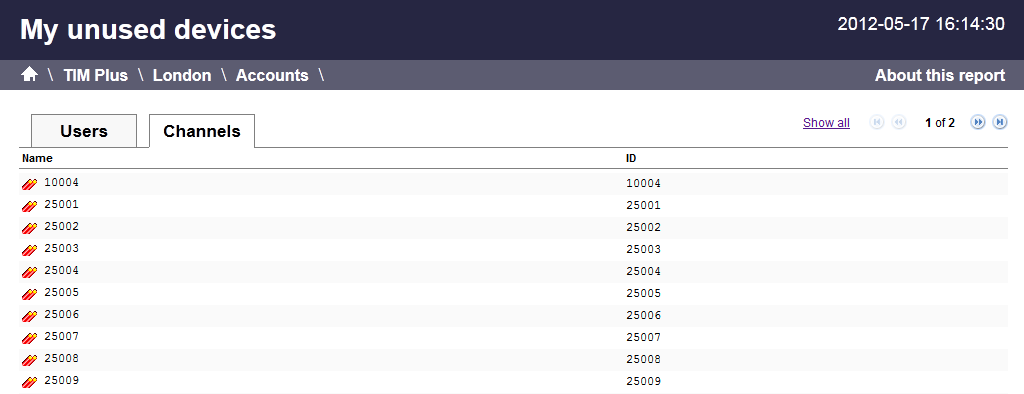
As with all reports, the header of the report includes:
- the report title
- the date and time of the report
- the name of the report, if applicable
The WEB format allows for complete flexibility when viewing any report. All headers are clickable, allowing you to re-arrange the report layout in seconds, to sort the calls in ascending or decending order based on the header clicked.
The headers of this report are as follows:
| Header | Description |
|---|---|
| Name | The Name of any unused user or channel will appear. e.g. Joe Bloggs or Main ISDN. |
| ID | The ID of any unused user or channel will appear. e.g. Ext 278 or 13578. |
| If the user has an associated e-mail address in the directory, it will appear here. | |
| DDI | If the user has an associated DDI (Direct Dial No) in the directory, it will appear here. |
| Mobile | If the user has a mobile number associated with it in the directory, it will appear here. |
The Name and any associated ID for any unused user or channel will appear. If additional properties have been added e.g. E-mail, DDI, Mobile etc. these properties will be displayed also.
If you would like to go back and view this report for a larger section of the organisation, click on the appropriate link in the breadcrumb, as shown below:-
