...
Anchor configuring_tim_plus
Configuring TIM Plus
| configuring_tim_plus |
Now you've installed CXD, either directly on to your 3CX or on a separate Windows computer, you need to log in to TIM Plus and create a connection to the CXD service:
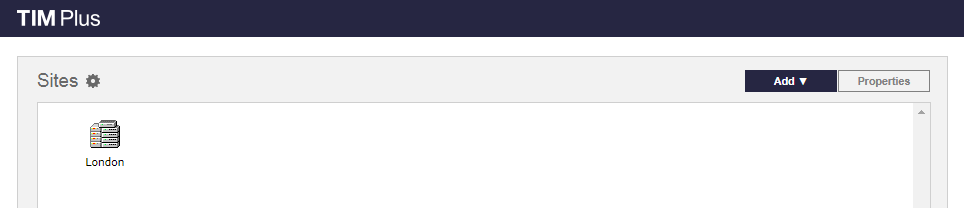
- Add a new site object by first navigating to the Directory tab.:

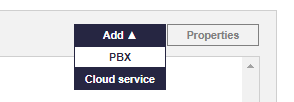
- Click on the 'Add' dropdown in the 'Sites' panel as shown below:
- Then select 'PBX' as shown below:
- A ‘Site properties’ panel will pop up. Select the 'PBX' tab and fill in as follows:
Name: Name of Site or Location where the PBX is located e.g. London.
PBX: Select ‘3CX CXD’ from the drop-down list.
Connection Method: Select ‘Actively connect to PBX’ from the drop-down list.
Host: The IP address of the machine where the CXD server was installed.
Password: This is the ‘API Secret’ created earlier.
Connection Script: Select '3CX CXD' from the drop-down list.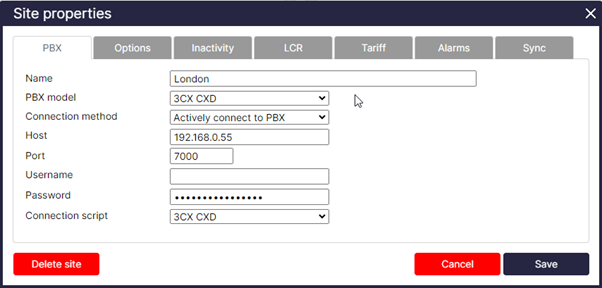
- An additional benefit of using CXD as the connection method is that TIM Plus can sync with the 3CX Server. A sync will allow you to pull a list of users and devices from the system. This allows you to configure and set up the directory much faster.
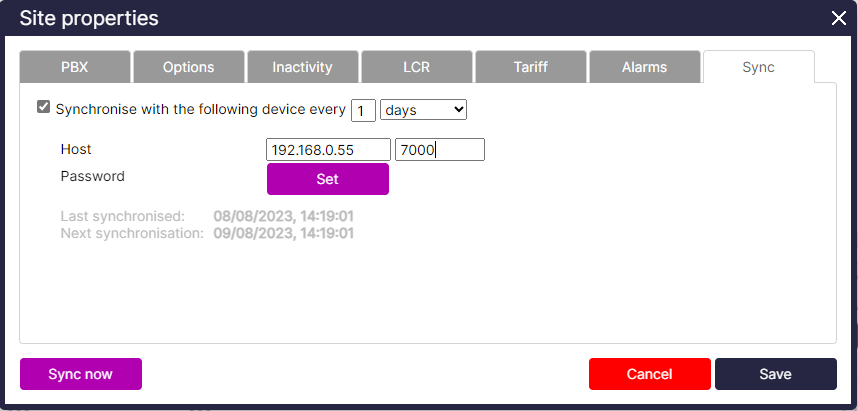
- On the “Site Properties” Panel click on the 'Sync' tab.
- Enter the following information:
Host: IP Address of the machine hosting the CXD server and the HTTP port set earlier when configuring the CXD server (Default 7000).
Password: Click Set, this is the ‘API Secret’ created earlier.
- Click 'Save' and the users will sync.
- Data should now appear within the 'Call view' Tab a test call can be made to confirm this.