Configuring a web user
Overview
To configure the properties of a web user, select it from the Web users list, as shown below:
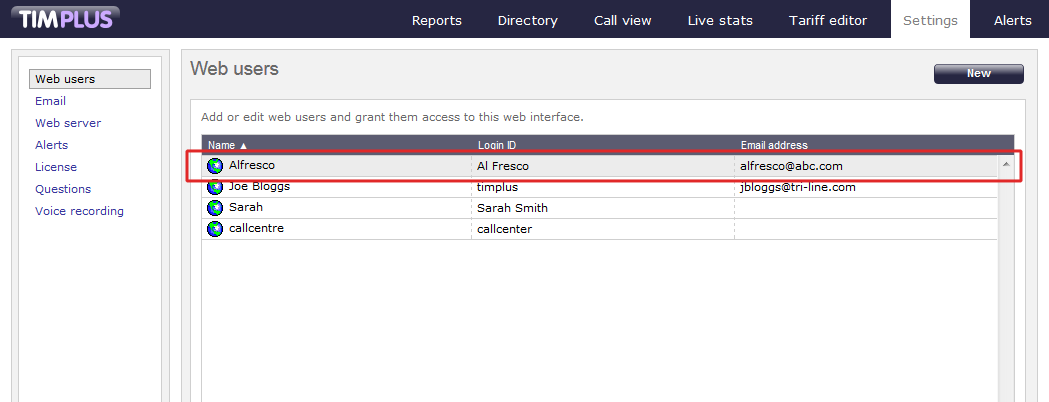
A new window will open, where you can configure the properties of the selected web user.
Each tab in this window is described below:
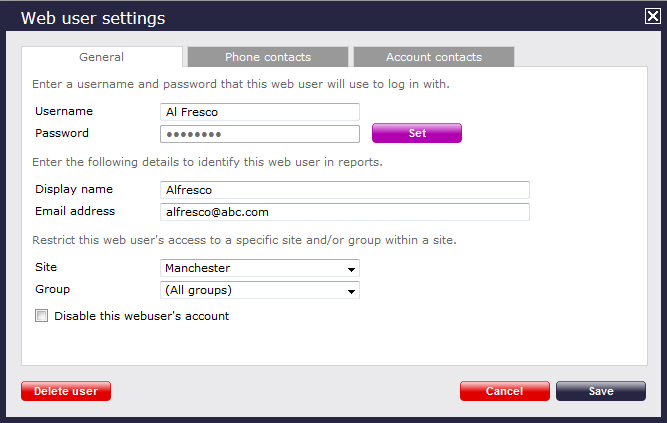
General properties
The General tab allows you to configure the login credentials of the currently-selected web user and apply any directory restrictions, if required.
Configuring a web user's credentials

| Field | Description |
|---|---|
| Username | The username the web user will use to log in with |
| Password | The password the web user will use to log in with |
| Display name | The name you want the web user to be identified in the reports |
| Email address | The email address of the web user; this can also be used when scheduling reports |
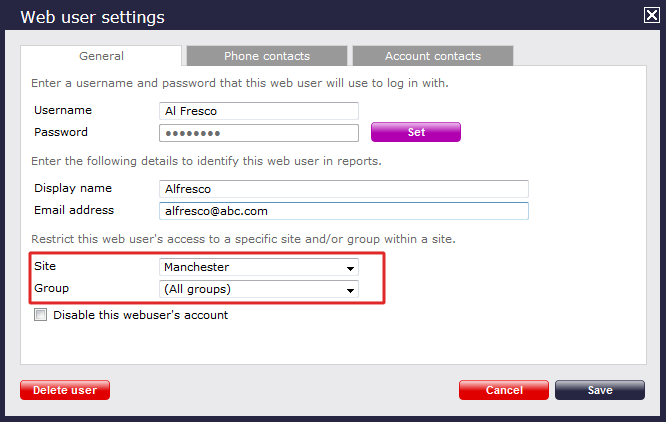
Configuring a web user's Directory access
TIM Plus allows you to restrict a web user's access to specific parts of the Directory. To apply any restrictions, select from the drop-down list the site and group you want to allow the web user to access. If you select All sites, the web user will be able to access all parts of the Directory.
| Field | Description |
|---|---|
| Site | The site to which the web user will be allowed access. If you don't want to restrict the current web user to a specific site, select All sites. |
| Group | The user group - within the previously selected site - to which the web user will be allowed access. If you don't want to restrict the current web user to a specific group, select All groups. |
Phone contacts
The Phone contacts tab allows you to add a list of contacts to each individual web user, replacing phone numbers with friendly names wherever they feature throughout the system, e.g. in reports, display boards, etc.
Adding phone contacts manually
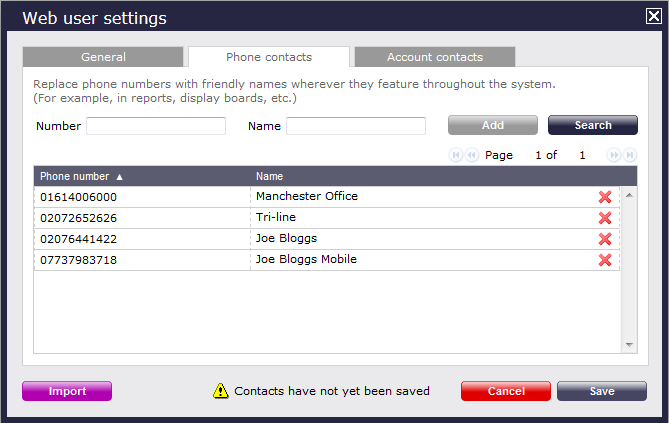
To manually add a phone contact to the currently-selected web user, enter the telephone number and the name you want to associate with it, then click on the button, as shown below:
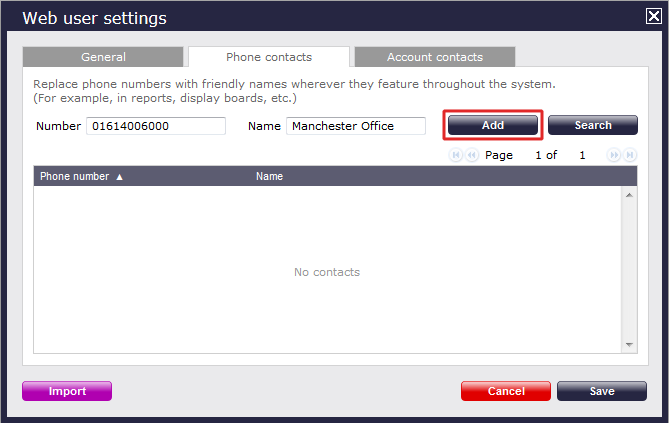
To add a range of DDI numbers, enter the first part of the phone number only, and use ** as a wild character, e.g. enter 020726526** for Tri-line's DDIs.
Importing phone contacts
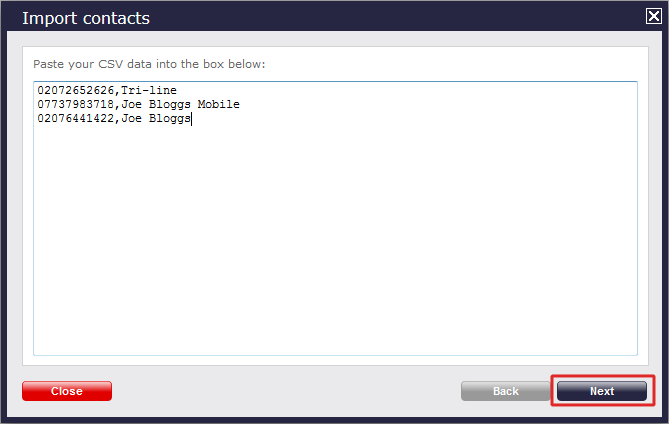
To automatically import phone contacts in the system from an existing list, arrange your data in CSV format comprising of two columns separated by a common delimiter, such as comma, dash, semicolon, tab or space.
Click on the button and paste the CSV list in the box provided, then click on the button.
Choose from the drop-down list the delimiter you want to use to separate the two columns, and whether you want to use the first row as a header:
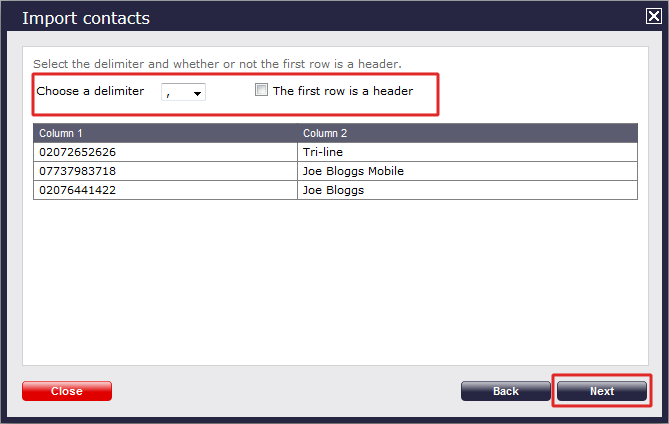
Select the column you want to use for the name and phone number information, then click on the button, as shown below:

The system will analyse your data and will return the number of phone contacts ready to be imported:
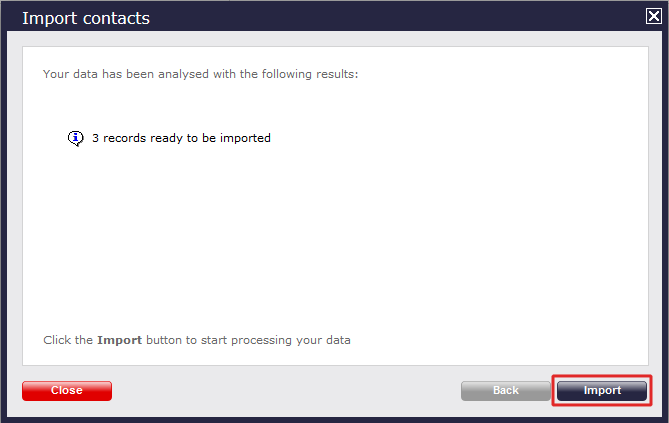
Click on the button to automatically import the contacts in the system, as shown below:
Deleting a phone contact
If you no longer want a name associated with a particular phone number, click on the  icon alongside it to delete it, as shown below:

Searching for a phone contact
To search for a number in your existing list of contacts, click on the button, as shown below:
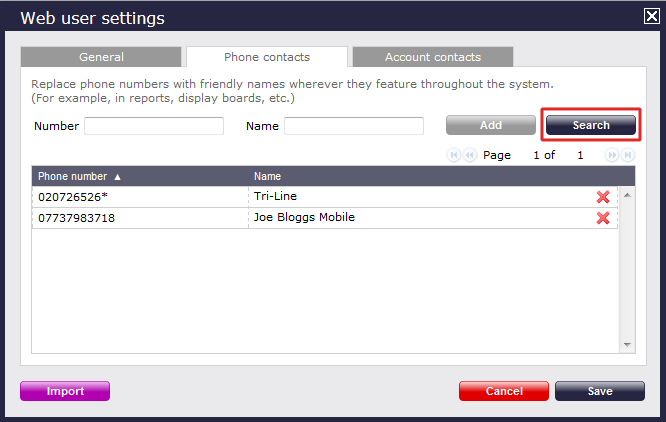
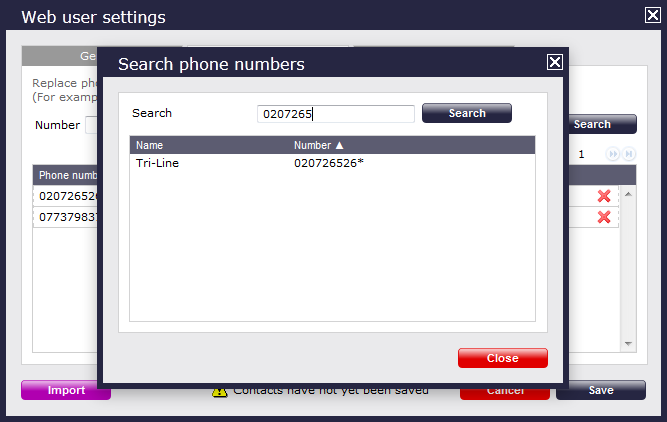
A new window will open, where you can enter the phone number you are looking for, as shown below:
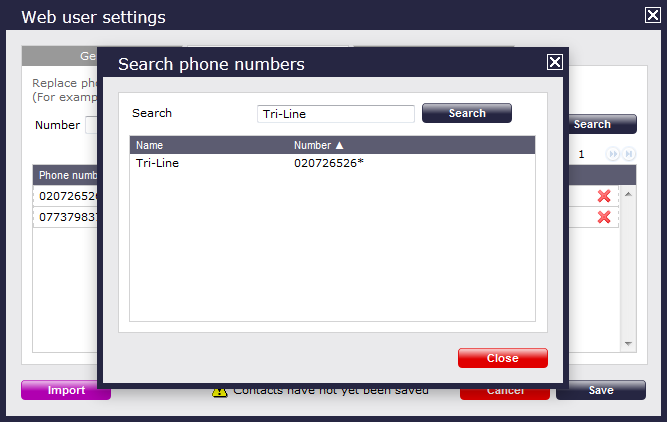
Follow the same procedure to search for a location name:
Account contacts
The Account contacts tab allows you to add a list of contacts to each individual web user, replacing account codes with friendly names wherever they feature throughout the system, e.g. in reports, display boards, etc.
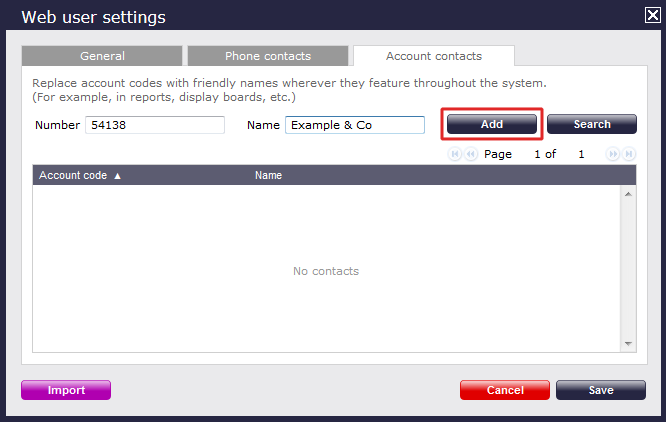
Adding account code contacts manually
To manually add an account code contact, enter the account code number and the name you want to associate with it, then click on the button, as shown below:
Importing account code contacts
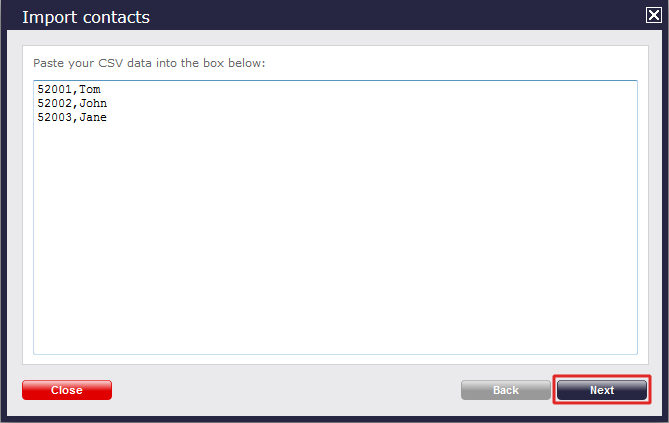
To automatically import account code contacts in the system from an existing list, arrange your data in CSV format comprising of two columns separated by a common delimiter, such as comma, dash, semicolon, tab or space.
Click on the button and paste the CSV list in the box provided, then click on the button:
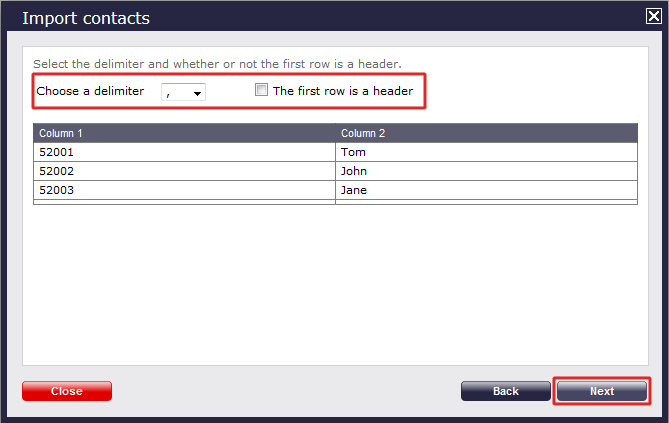
Choose from the drop-down list the delimiter you want to use to separate the two columns, and whether you want to use the first row as a header:
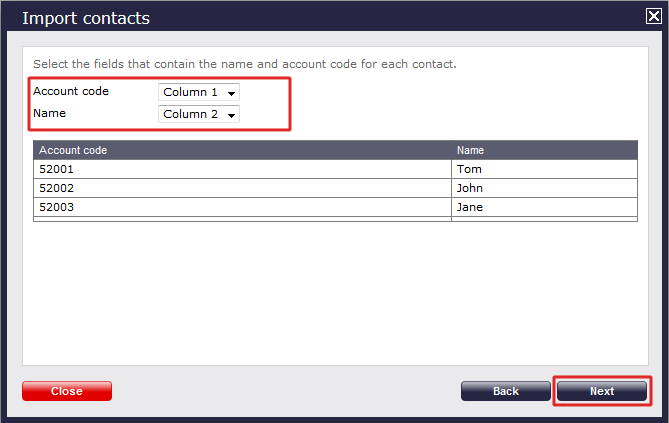
Select the column you want to use for the name and account code information, then click on the button, as shown below:
The system will analyse your data and will return the number of contacts ready to be imported:

Click on the button to automatically import the contacts in the system.

Deleting an account code contact
If you no longer want a name associated with a particular account code number, click on the  icon alongside it to delete it, as shown below:

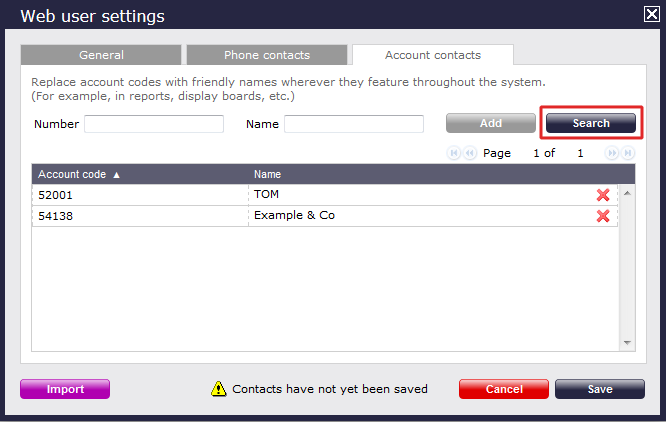
Searching for an account code
To search for an account number in your existing list of contacts, click on the button, as shown below:
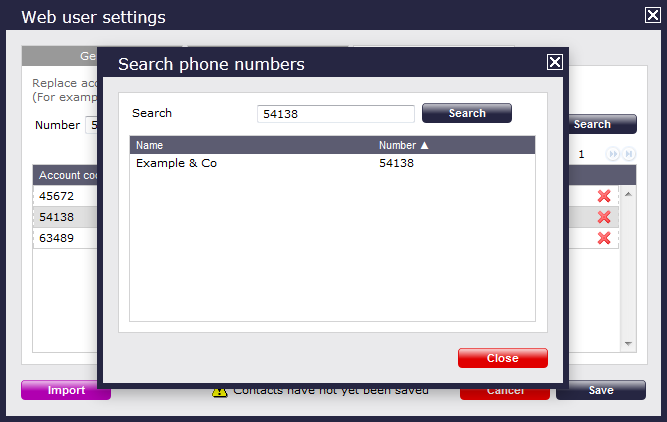
A new window will open, where you can enter the account code you are looking for, as shown below:
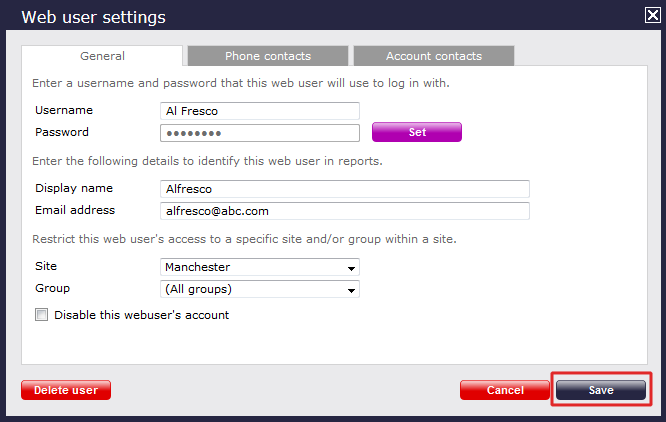
When you have configured the properties of your web user, click on the button to apply the changes, as shown below: