...
Configuring TIM Enterprise
Now you've installed CXD, either directly on to either your 3CX or to on a separate Windows computer, you need to log in to TIM Enterprise and create a connection to the CXD service:
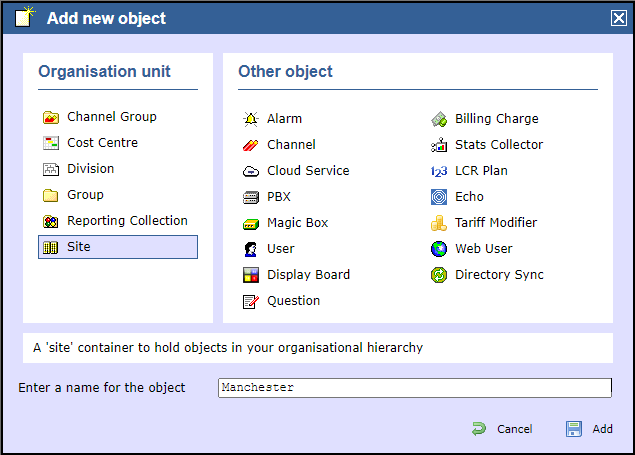
- Add a new site object by first navigating to the Directory tab.

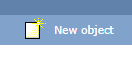
- Click on 'New object'
- Select 'Site', and type the name of the site as follows:
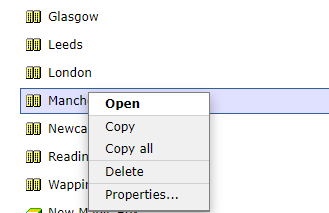
- Go to the Site, and click on 'Open' as shown below:
- Select 'PBX' from the 'Other objectsobject' list and type in the name of enter a name for the 3CX site, e.g. "Manchester 3CX", then click
at the bottom right.Buttonmacro Label Add 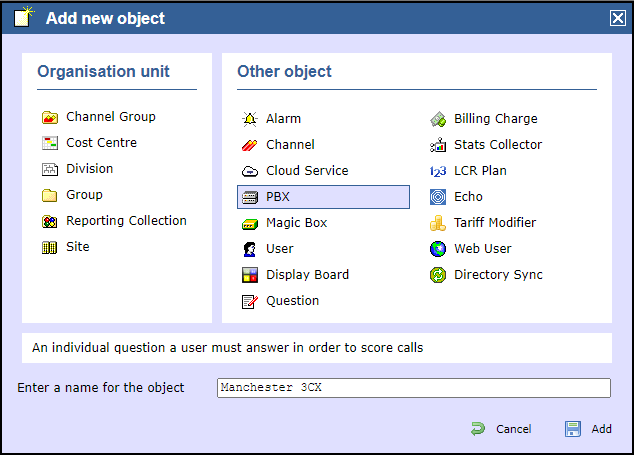
- Select Choose 'Establish a TCP connection to PBX' as the connection method Method.
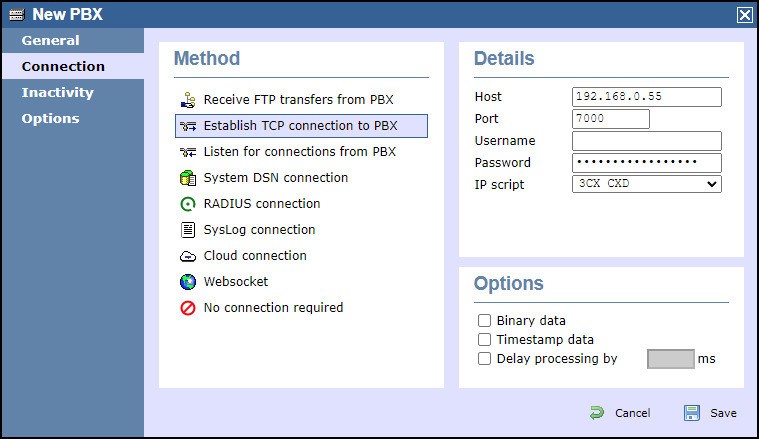
- Then select '3CX CXD' from the IP script drop-down list and enter the details as shown above.
- Host: The IP address of the machine where the CXD server was installed.
Port: Enter the default Port number.
Username: Leave blank.
Password: This is the ‘API Secret’ created earlier.
IP script: Select '3CX CXD' from the drop-down list. - An additional benefit of using CXD as the connection method is that TIM Enterprise can sync with the 3CX Server.
A sync will allow you to pull a list of users and devices from the system.
This allows you to configure and set up the directory much faster.
To add a 'Directory Sync' object, select and name as shown in the example below: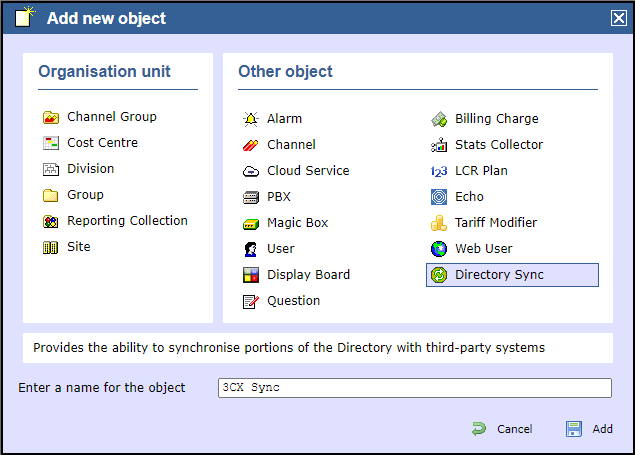
- Once the Sync Object has been added to your Directory, you have the option to 'Sync now' or return at any
time and select 'Properties' to sync again later.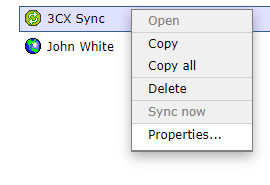
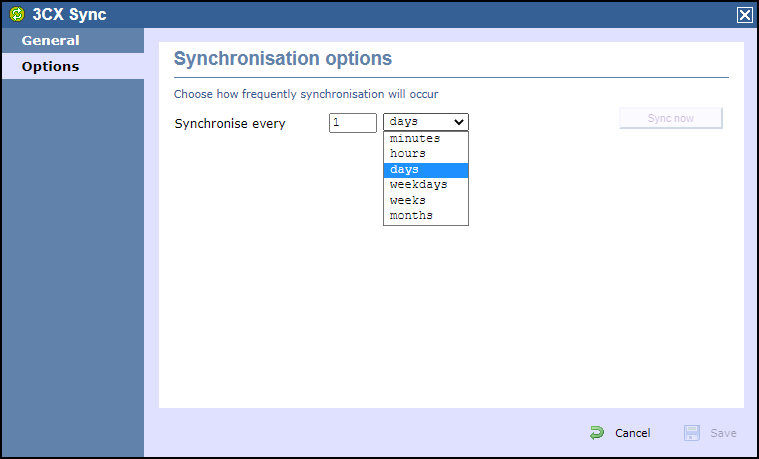
- After selecting 'Properties', simply choose how often you would like to synchronise as shown below:
...