These instructions help you configure your Aastra MX-ONE (Aastra 700) phone system to work with TIM Enterprise. Contact your system maintainer if you are not familiar with the configuration of your PBX.
Connection Type
Support Files
Required Tasks
Configuring your SMDR output
The MX-One (Aastra 700) phone system saves the call logging information into a local database, located by default in:
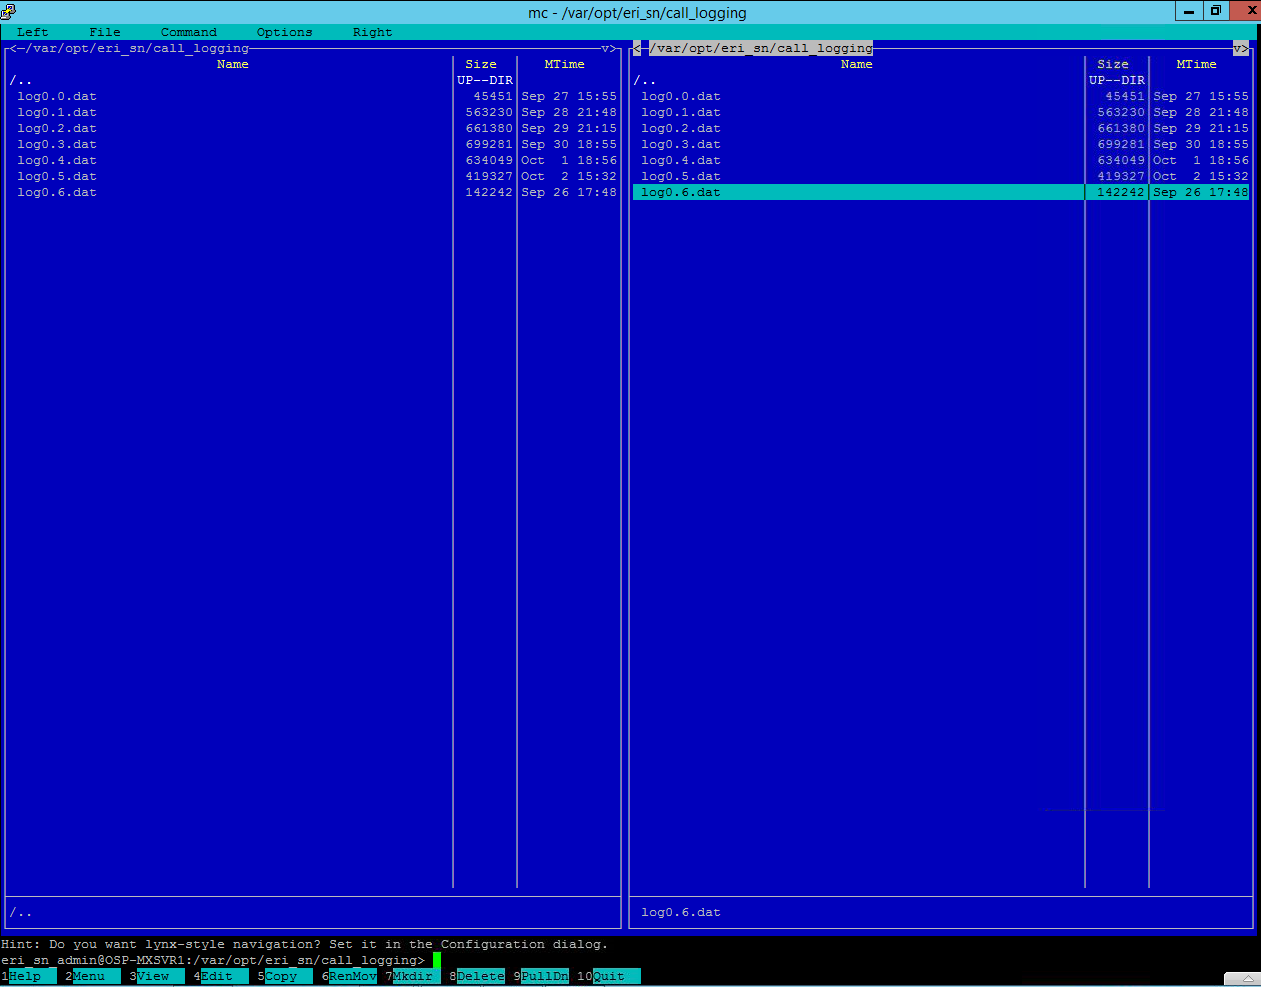
To edit the default path, SSH into each MX-One (Aastra 700) and use the mc command. To configure the directory structure, use the mkdir (key 7) command. |
Next, you need to enter the following commands for the primary MX-One / Aastra 700 (the one that will send the data via IP to TIM Enterprise):
The server IP address specified above will be the IP address of the TIM Enterprise machine. The port number can be set to any free TCP port, but we would recommend one in the 9000 range. |
Add the following two commands for the same primary MX-One / Aastra 700, in order to send the data to TIM Plus:
For each additional MX-One in the cluster, the following commands need to be entered, applying lim 2, 3, 4...n, accordingly.
Configuring TIM Enterprise
Follow the steps below to configure TIM Enterprise to listen for SMDR data from your MX-One (Aastra 700) :
- Click on the tab.
- Locate the PBX object you want to configure in the Directory, right-click on it and select Properties.
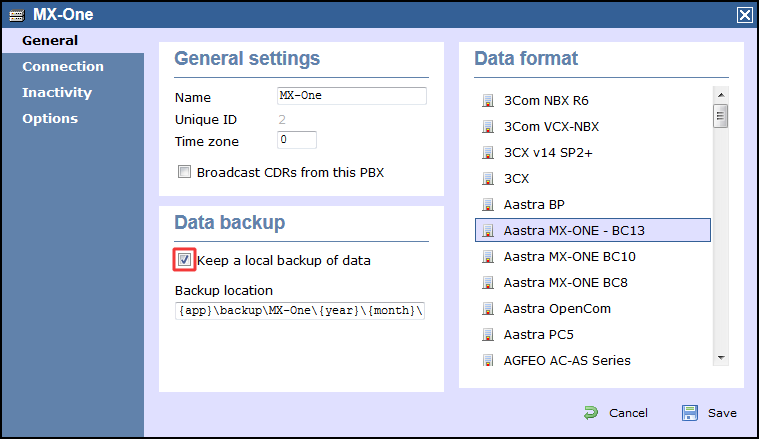
- A new window will open, displaying the general properties of your PBX object. Select Aastra MX-ONE from the Data format list and tick the Keep a local backup of data box, as shown below:
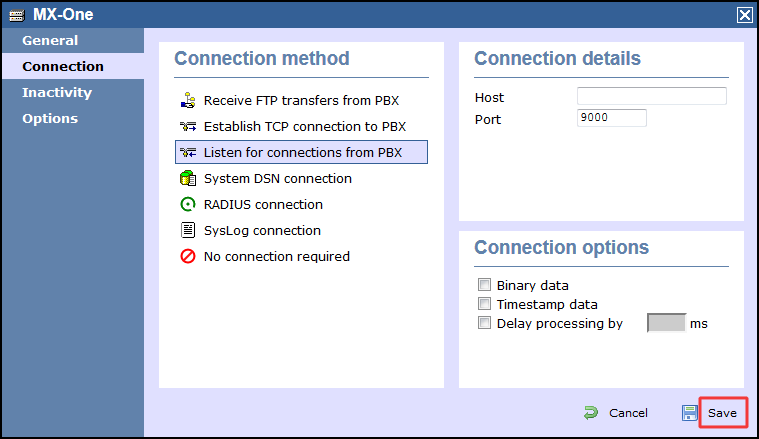
- Click on the tab and select Listen for connections from PBX from the Connection method list.
- Leave the Host field blank.
- In the Port field, enter the port number you have configured in the phone system.
- Click on the button to apply the settings.